
Buckeye Drywall Repair Services
Trustworthy Sheetrock Repair Contractors in Buckeye, Arizona
Buckeye homeowners face common drywall issues ranging from small nail holes to extensive water damage that can affect both walls and ceilings. With the city’s rapid growth, many residents turn to Aza Drywall Tempe for reliable drywall repair and installation services. As Arizona's second-largest city by area at 393.2 square miles, and the fastest-growing city in the United States for 2017, 2018, and 2021, Buckeye's expansion from just 6,537 residents in 2000 to 91,502 in 2020 has created substantial demand for both new construction drywall installation and repair services in older homes. Professional contractors in the area specialize in comprehensive repair services that restore your home's interior surfaces to their original condition.
Local drywall repair specialists handle everything from minor patches and crack repairs to complete popcorn ceiling removal and water damage restoration. These professionals use advanced texture matching techniques to ensure repairs blend seamlessly with existing surfaces, making damage virtually invisible once completed.
Whether you need emergency hole repairs or are planning a complete drywall installation for new construction, understanding the available services and techniques will help you choose the right contractor for your project. Professional finishing work requires specific skills and equipment that ensure long-lasting results and proper integration with your home's existing surfaces.
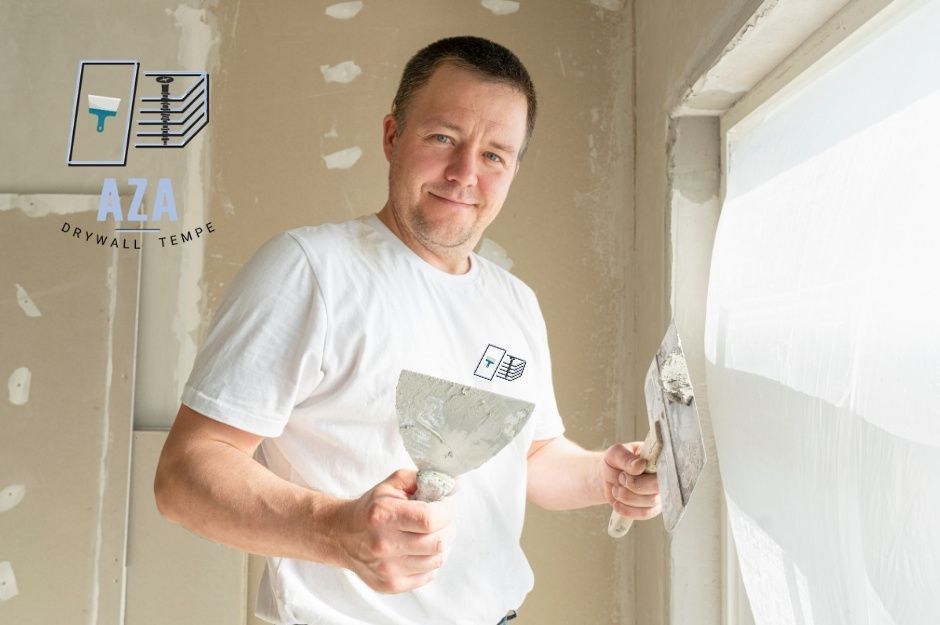
Aza Tempe Drywall (CP)

Drywall Repair Services Offered in Buckeye, AZ
Buckeye contractors provide comprehensive drywall repair services for both residential and commercial properties. Located approximately 30 miles west of downtown Phoenix in the Buckeye Valley, with the Gila River flowing westward through the valley and the White Tank Mountains to the north, the city's diverse geography and soil conditions require contractors familiar with local building characteristics. Services range from simple hole patching to complex water damage restoration and complete popcorn ceiling removal projects.
Wall and Ceiling Patch Repair
Wall repair contractors in Buckeye handle holes of all sizes, from small nail holes to large gaps caused by accidents or furniture damage. You can expect professional patching using appropriate materials matched to your existing wall thickness.
Most contractors use mesh patches for holes smaller than 4 inches and backing boards for larger repairs. The process involves cleaning the damaged area, applying the patch, and feathering compound in thin layers.
Ceiling repair follows similar techniques but requires additional expertise due to gravity challenges. Contractors must ensure proper adhesion and prevent sagging during the drying process.
Common patch repair sizes:
- Small holes (nail/screw): 15-30 minutes
- Medium holes (doorknob size): 1-2 hours
- Large holes (6+ inches): 2-4 hours plus drying time
Professional contractors texture-match your existing walls perfectly. They sand smooth transitions between old and new surfaces before applying primer and paint.
Repairing Cracks and Seams
Drywall repair specialists address various crack types including settlement cracks, corner bead separation, and seam failures. In Buckeye's extreme temperature conditions—with 121 afternoons reaching 100°F or higher and record temperatures hitting 125°F—thermal expansion and contraction create significant stress on drywall seams and joints, making proper crack repair techniques essential for long-lasting results. You'll find contractors use different approaches depending on crack severity and location.
Hair-line cracks typically require mesh tape and joint compound application. Wider cracks need removal of loose material before repair begins.
Corner cracks often indicate structural movement or improper installation. Contractors assess the underlying cause before beginning repairs to prevent recurrence.
Crack repair methods:
- Mesh tape: Flexible repairs for minor cracks
- Paper tape: Strong bonds for seam repairs
- Fiberglass mesh: Self-adhesive option for quick fixes
Seam repairs involve re-taping joints where original installation failed. Contractors remove old tape, clean the area, and apply new tape with multiple compound coats.
Temperature changes and house settling cause most crack problems. Professional repairs include primer application to seal the repair area properly.
Water Damage Restoration
Water damage restoration requires immediate attention to prevent mold growth and structural problems. Buckeye's hot desert climate (Köppen BWh) creates unique challenges for water damage repairs, particularly during the monsoon season when humidity levels rise dramatically despite the city's typically stable, sunny conditions. While monsoonal rainfall is infrequent compared to other Arizona cities, the heaviest daily rainfall recorded at 4.90 inches on September 2, 1894, demonstrates the potential for significant water intrusion events. Buckeye contractors assess moisture levels and determine if drywall replacement or repair is appropriate.
You need professional evaluation when water damage covers more than 10 square feet. Contractors use moisture meters to check for hidden water in wall cavities.
Water damage assessment steps:
- Moisture level testing
- Mold inspection
- Structural integrity check
- Insulation evaluation
Minor water stains often require primer-sealer application before repainting. Extensive damage means cutting out affected drywall sections and installing new materials.
Contractors typically remove damaged drywall 12 inches beyond visible water marks. This ensures complete moisture removal and prevents future mold issues.
In Buckeye's alkaline soils—predominantly well-drained loam or clay loam in most areas, with gravelly sand or sandy loam in northern neighborhoods like Verrado—groundwater intrusion and foundation moisture can create specific water damage patterns that experienced local contractors recognize and address appropriately. Professional restoration includes antimicrobial treatments and proper ventilation during drying. You should expect contractors to monitor moisture levels throughout the repair process.
Popcorn Ceiling Removal and Repair
Popcorn ceiling removal involves scraping textured surfaces and creating smooth finishes. Buckeye contractors test for asbestos in homes built before 1980 as required by safety regulations—particularly important in the original town center area, which was incorporated in 1929 and included many mid-century homes that may contain asbestos materials.
The removal process includes covering floors and furniture with plastic sheeting. Contractors spray ceiling sections with water to soften the texture before scraping.
Removal process timeline:
- Preparation: 2-3 hours for average room
- Scraping: 4-6 hours per room
- Cleanup: 1-2 hours
- Finishing: 2-3 days including drying time
After removal, contractors repair any ceiling damage revealed beneath the texture. This includes filling holes, cracks, or uneven areas with joint compound.
You can choose between smooth ceilings or modern texture applications. Popular alternatives include orange peel, knockdown, or light skip trowel finishes.
Professional contractors ensure proper dust containment and disposal of scraped materials. They prepare surfaces for painting with appropriate primer products designed for ceiling applications.
Texture Matching and Finishing Techniques
Professional drywall finishing techniques ensure durable, smooth results that meet industry standards, while proper drywall repair requires precise texture matching to blend repairs invisibly with existing surfaces.
Texture Matching for Seamless Repairs
Texture matching involves replicating your existing wall or ceiling surface patterns to make repairs virtually invisible. Professional contractors analyze your current texture type before selecting the appropriate technique and materials.
Common texture types contractors work with include:
- Orange peel texture
- Knockdown texture
- Popcorn ceiling texture
- Skip trowel patterns
- Smooth finishes
The process begins with identifying your specific texture pattern and density. Contractors use specialized tools like texture sprayers, brushes, and trowels to recreate the exact appearance.
Material preparation is critical for successful texture matching. The compound mixture must match the original texture's thickness and consistency. Contractors often test samples on scrap pieces before applying to your repair area.
Timing plays a crucial role in texture matching. In Buckeye's extreme heat—with mean daily maximum temperatures of 108.4°F in July and abundant sunshine throughout the year—compound drying times accelerate significantly, requiring contractors to work quickly and adjust their techniques to prevent premature drying that could compromise texture quality. The compound must be worked at the right moisture level to achieve proper texture formation. Too wet or too dry conditions will prevent accurate pattern replication.
Drywall Finishing Methods
Drywall finishing involves multiple coat applications to create smooth, paint-ready surfaces. The standard process includes three distinct coats, each serving a specific purpose in achieving professional results.
First coat application covers screw heads and fills seam gaps with joint compound. This base layer establishes the foundation for subsequent finishing work. Contractors embed paper or fiberglass tape into wet compound along all seams.
Second coat extends beyond the first layer, feathering edges to create gradual transitions. This coat typically measures 8-10 inches wide and eliminates visible tape lines through proper blending techniques.
Final coat application spans 10-12 inches wide, creating perfectly smooth transitions between new compound and existing drywall. Light sanding between coats removes imperfections and ensures optimal adhesion.
Each coat requires complete drying before the next application. Rushing this process leads to cracking, poor adhesion, and visible repair lines that compromise the finished appearance.
Corner Bead and Edge Detailing
Corner bead installation protects vulnerable outside corners from damage while creating clean, straight edges. Metal, vinyl, and paper-faced beads offer different advantages depending on your specific application needs.
Metal corner bead provides maximum durability for high-traffic areas. Installation requires precise alignment and secure fastening every 6-8 inches along the bead length. Contractors use screws or nails based on local building codes.
Vinyl corner bead resists cracking better than metal alternatives and installs with adhesive compound. This option works well in areas subject to settling or minor structural movement.
Paper-faced corner bead offers superior blending capabilities for inside corners and curved applications. The paper surface accepts joint compound readily, creating seamless transitions with adjacent surfaces.
Proper edge detailing ensures your repaired areas blend perfectly with existing walls. Contractors feather compound edges gradually, extending beyond repair boundaries to eliminate visible transition lines.
Professional Drywall Installation for Residential and Commercial Projects
Professional drywall installation requires thorough preparation, quality materials, and specialized techniques that account for Arizona's desert climate conditions. With Buckeye's record high temperature of 125°F on July 28, 1995, and daily temperatures exceeding 100°F on 121 afternoons annually, proper installation techniques prevent future cracking and extend the lifespan of your walls and ceilings in this challenging environment.
Pre-Installation Inspection and Preparation
Your contractor begins with a comprehensive assessment of the installation area. This includes measuring wall dimensions, identifying electrical and plumbing locations, and checking for structural irregularities.
Framing inspection ensures all studs are properly spaced and secure. Contractors verify 16-inch or 24-inch spacing standards and check for warped or damaged framing members.
The preparation phase includes:
- Marking electrical outlet and switch locations
- Installing backing boards for heavy fixtures
- Sealing air gaps around windows and doors
- Protecting flooring and furniture
Contractors also examine any damaged drywall in adjacent areas that might affect the new installation. Temperature and humidity levels are measured to determine optimal installation conditions.
Installation Process and Materials
Professional installation follows a systematic approach starting with ceiling panels, then walls. Contractors use 5/8-inch drywall for ceilings and 1/2-inch panels for most wall applications.
Material specifications for Arizona installations:
- Type X fire-resistant drywall for garages
- Moisture-resistant panels for bathrooms
- Standard gypsum board for living areas
Fastening patterns follow industry standards with screws placed every 8 inches on ceilings and 12 inches on walls. Contractors maintain 1/8-inch gaps between panels for expansion.
The taping process includes three coats of joint compound. First coat embeds tape, second coat builds thickness, and final coat creates smooth transitions ready for finishing.
Custom Solutions for Buckeye's Climate
Arizona's extreme temperature fluctuations require specialized installation techniques. Buckeye experiences some of the most dramatic temperature swings in the Phoenix metropolitan area, with winter mornings dropping to 32°F or below on 20.2 days annually—including a record low of 11°F on January 8, 1913—while summer afternoons routinely exceed 105°F. This temperature range of over 100°F between seasonal extremes demands exceptional attention to expansion joint placement and material selection. Contractors account for thermal expansion by adjusting panel spacing and using flexible sealants.
Climate-specific considerations include:
- Extended drying times during humid monsoon season
- Rapid moisture evaporation in dry conditions
- Temperature-controlled storage of materials
Your installer uses mesh tape instead of paper tape in high-stress areas prone to cracking. Special attention focuses on corners and joints where movement occurs most frequently.
Contractors schedule installations during optimal weather windows when temperatures remain between 55-85°F—typically during Buckeye's mild winter season from November to March, when mean daily maximum temperatures range from 68°F to 78°F, providing ideal conditions for proper compound curing and adhesion. This prevents premature drying and ensures proper adhesion of compounds and finishes.